Installing Minecraft PE / Bedrock Maps on Windows
In Minecraft, when you download maps (also referred to as “worlds”) in the .mcworld or .mcpack format, navigate to your Downloads folder, locate the file, and double-click to initiate the installation. The map will seamlessly integrate into your game. If prompted, choose to open the file with Minecraft: Windows 10 Edition Beta.
On the other hand, a majority of maps are acquired in the .ZIP or .RAR format. If you’ve downloaded a map in one of these formats, refer to the accompanying guide for installation instructions.
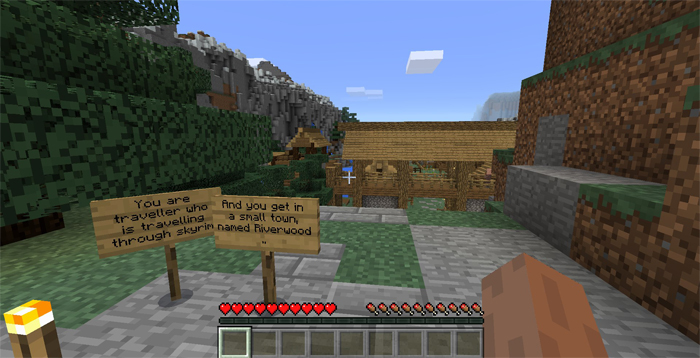
1. Start by selecting and downloading a map of your choice from this link. For the purposes of this guide, we’ve chosen “The Relic of Riverwood,” an engaging adventure map.
2. The downloaded file will either be in zip or rar format. These are compressed files that require extraction before accessing their contents. For this extraction process, we’ll utilize WinRAR. If you haven’t installed WinRAR on your computer yet, please do so.
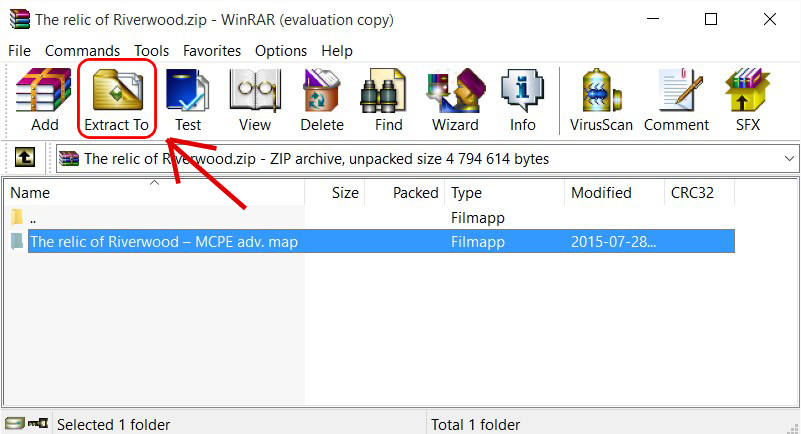
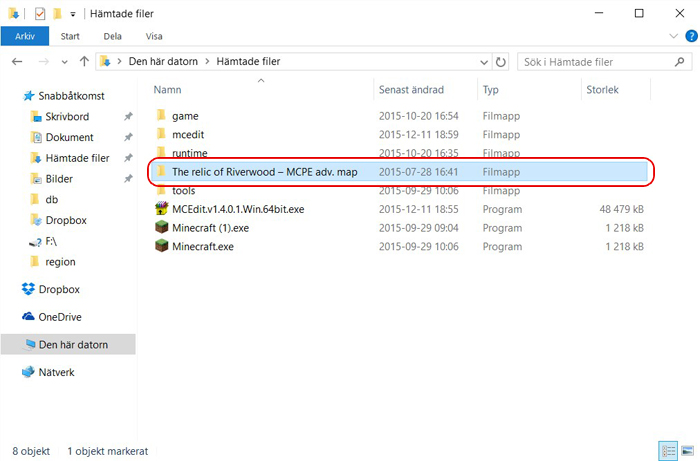
3. Using WinRAR, open the zip file you downloaded. Within this zip file, you’ll find the map’s world folder. For this tutorial, the folder is titled “The relic of Riverwood – MCPE adv. map.”
Select the folder by clicking on it once, and then press the “Extract To” button.
4. A new dialogue box will appear, prompting you to choose a destination for the extracted folder. I recommend using the Downloads folder for convenience; in my instance, it’s labeled “Hämtade filer.” However, you’re free to choose any location, just ensure you remember its path. Once you’ve chosen, hit the “OK” button.

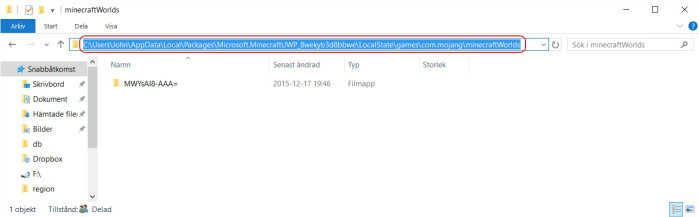
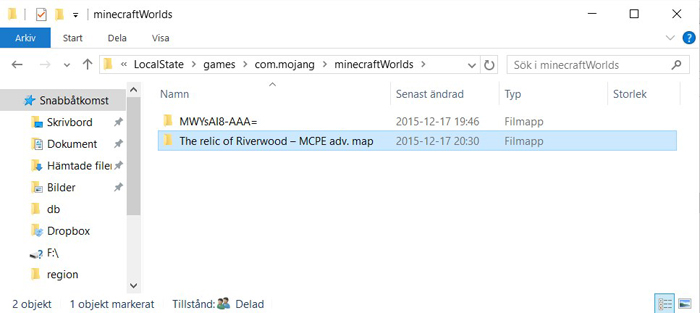
5. The storage location for worlds in Minecraft: Windows 10 Edition is as follows:
C:\Users\Name of User\AppData\Local\Packages\Microsoft.MinecraftUWP_8wekyb3d8bbwe\LocalState\games\com.mojang\minecraftWorlds
To access this location, first, copy the above-mentioned location using (CTRL + C). Next, click on the Windows Start button located at the bottom-left corner of your screen, and then select File Explorer.
Once in File Explorer, paste (CTRL + V) the location into the address bar (highlighted in the provided image) and press Enter.
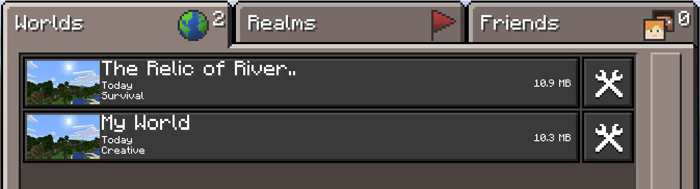
Great, you’ve now pinpointed the location of all your Minecraft: Windows 10 Edition worlds (often referred to as maps). Keep this window open; we’ll be returning to it shortly.
6. Next, navigate to the folder where you had earlier extracted the content. For our example, we used the Downloads folder.
Head to the Downloads folder, find the map you extracted, and copy it (using CTRL + C).
7. Return to the window where all your Minecraft: Windows 10 Edition worlds are stored. Then paste (CTRL + V) the map into this directory.
8. You’re all set! If Minecraft was running during the installation, ensure you restart it.